Date:
KW 44 / 2025
By:
Alkacon Software

With Docker, you can run OpenCms and Mercury without manual configuration or complex installation steps. Everything you need, from the database to the application container, is defined in a straightforward setup that just works. It’s the fastest way to start experimenting, developing templates, and extending OpenCms in a fully controlled local environment.
In the following article, we’ll walk through how to install and run OpenCms with the Mercury Template using Docker. You’ll learn how to start the containers, access your local instance, and prepare your workspace for efficient development and testing.
The OpenCms Docker image contains all the necessary components and modules for local Mercury development. Like OpenCms and Mercury, the Docker image is open source and available on GitHub and Docker Hub.
In order to use the image, you have to install Docker on your computer at first. You should also be able to run simple commands in a console. Once you have installed Docker and familiarised yourself with the console, complete the three steps below.
services:
  mariadb:
    image: mariadb:latest
    container_name: mariadb
    init: true
    restart: always
    volumes:
      - ~/dockermount/opencms-docker-mysql:/var/lib/mysql
    environment:
      - "MYSQL_ROOT_PASSWORD=secretDBpassword"
  opencms:
    image: alkacon/opencms-docker:latest
    container_name: opencms
    init: true
    restart: always
    depends_on: [ "mariadb" ]
    links:
      - "mariadb:mysql"
    ports:
      - "8080:8080"
    volumes:
      - ~/dockermount/opencms-docker-webapps:/container/webapps
    command: ["/root/wait-for.sh", "mysql:3306", "-t", "30", "--", "/root/opencms-run.sh"]
    environment:
       - "DB_PASSWD=secretDBpassword"
No changes need to be made to the file for local development. If you are interested, you can read about configuration options in the README file.
docker compose up -d
This command downloads, installs and starts a MariaDB database and an OpenCms installation that contains the Mercury template.
docker compose logs -f opencms
When the installation is complete, you can access your OpenCms installation at http://localhost:8080.
Once you have successfully installed the Docker container, take a moment to explore the possibilities offered by OpenCms and Mercury.
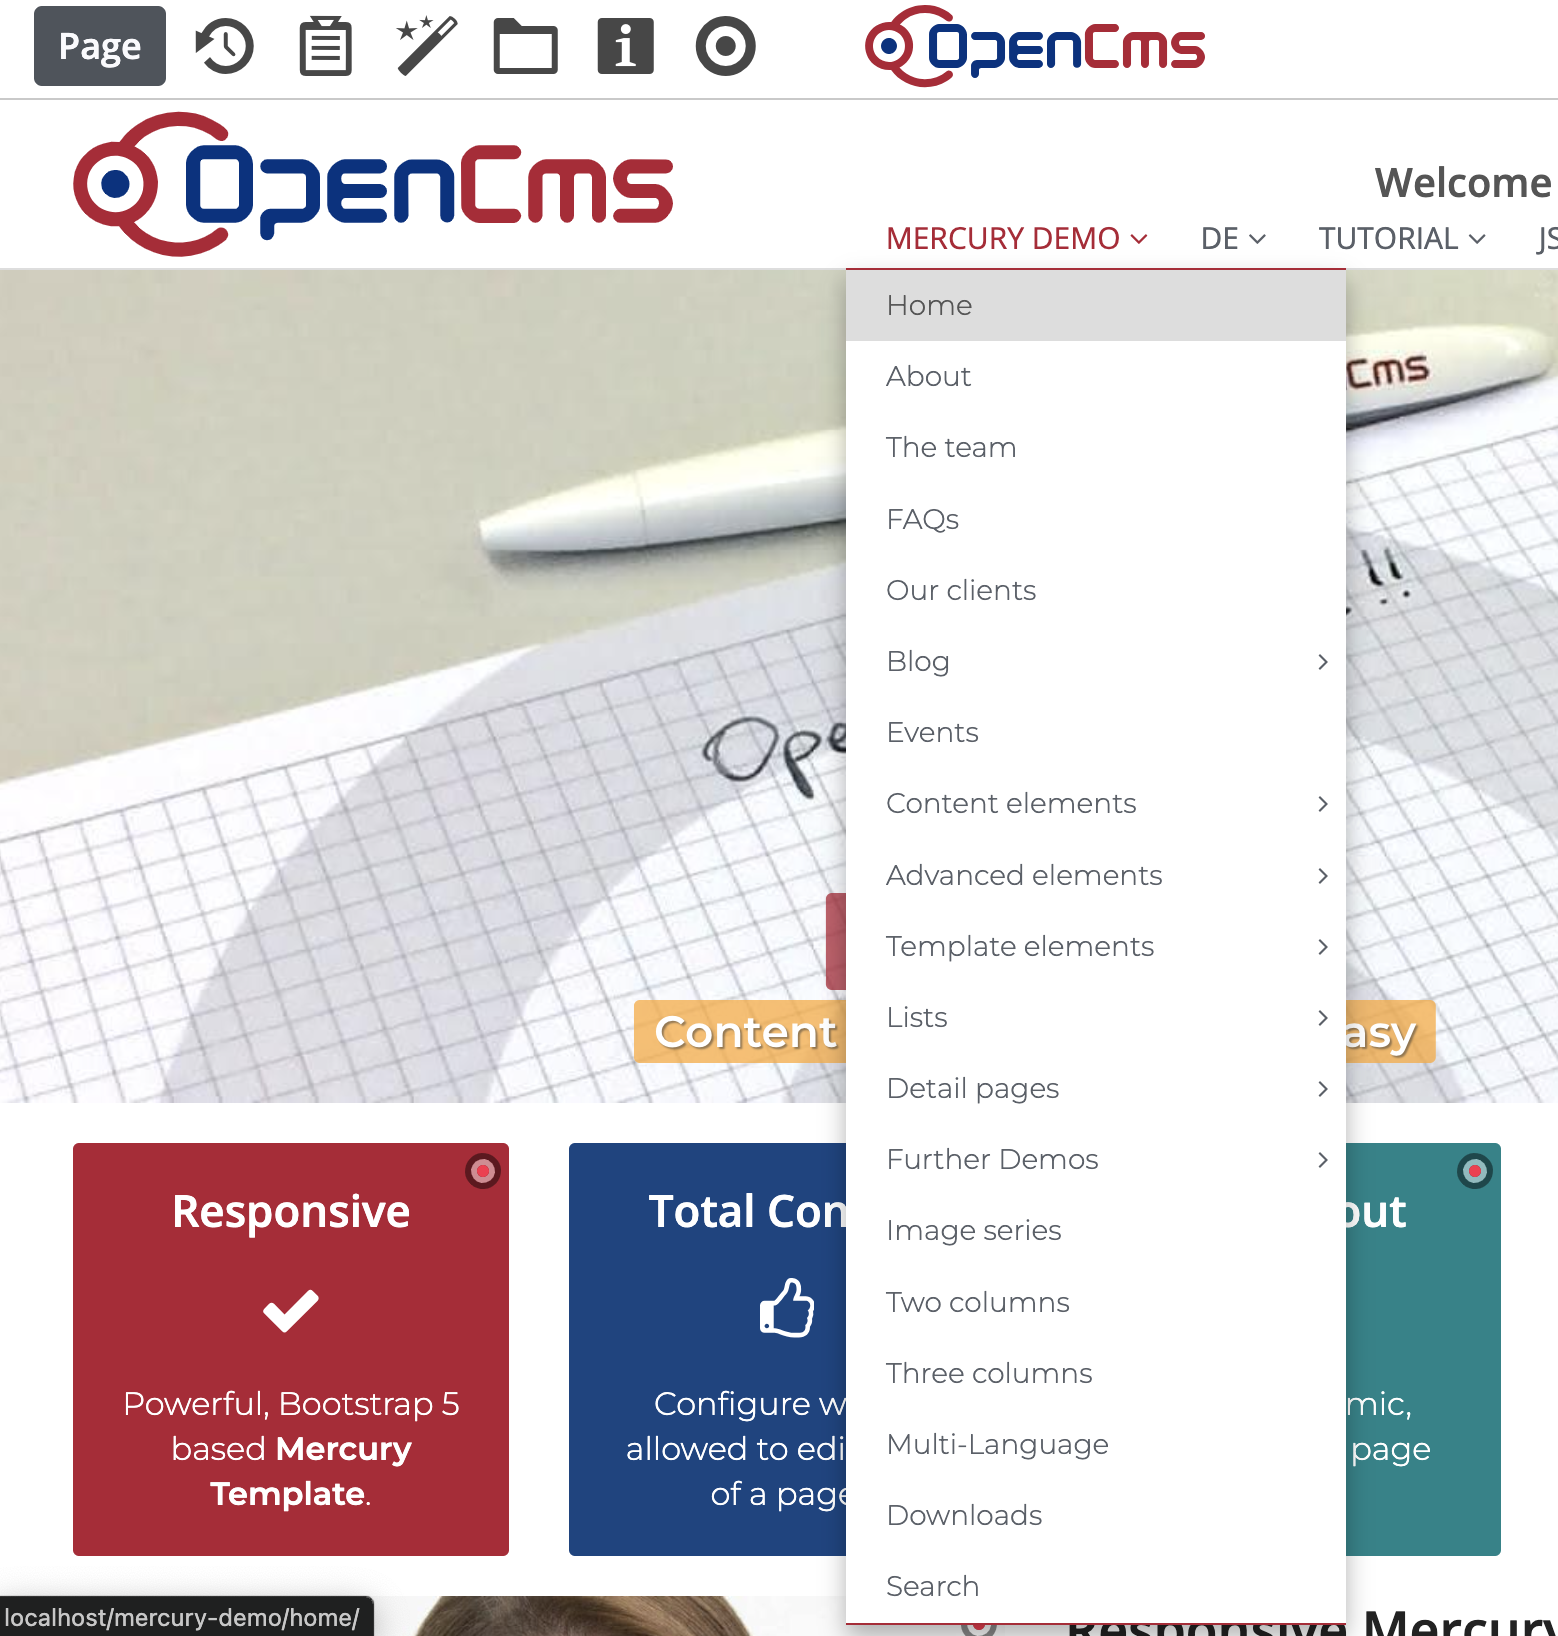
What you see at the root URL http://localhost:8080 is Mercury's “Demo site”. The website demonstrates everything Mercury has to offer, from content types and their display variations to forms, website headers and footers, lists, and website search.
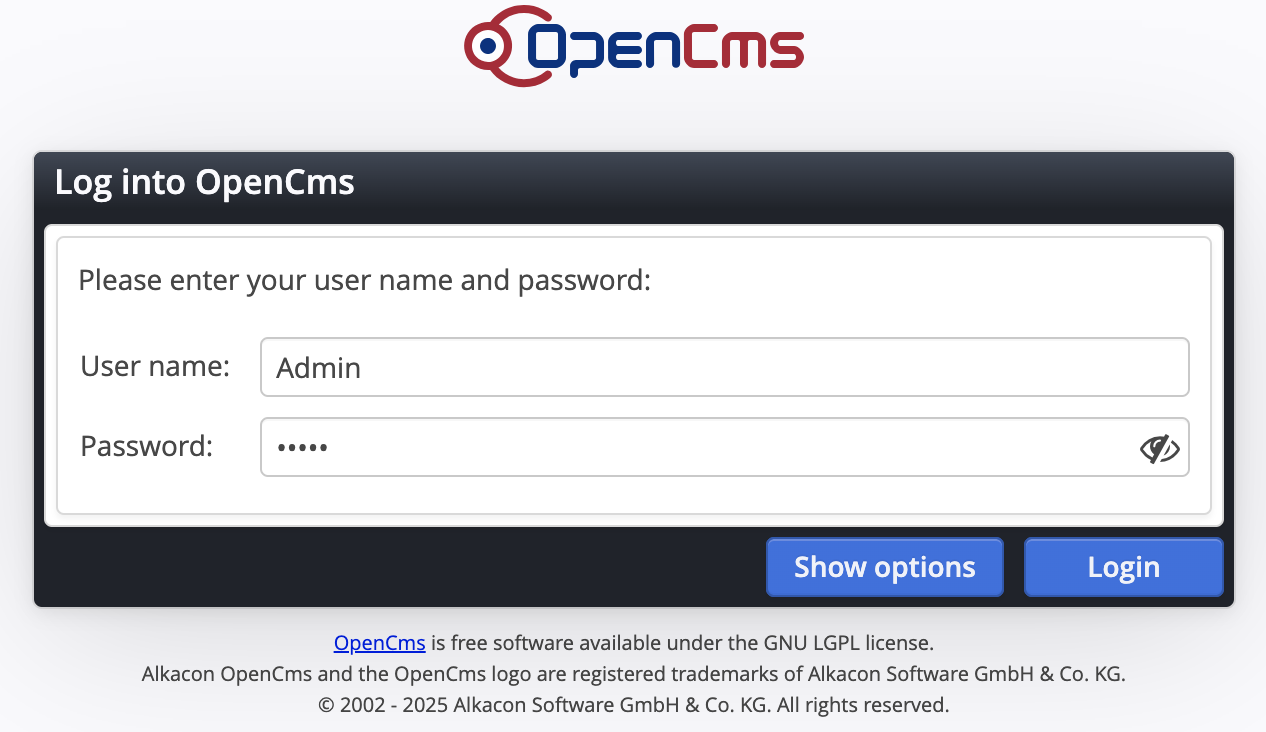
Next, log in to the OpenCms workplace. The OpenCms workplace is the environment where editors work on their content “offline”. As a developer, you will use the workplace to track your code changes step by step.
Follow the link below, and in the dialog that opens, enter “Admin” as the username and “admin” as the password.
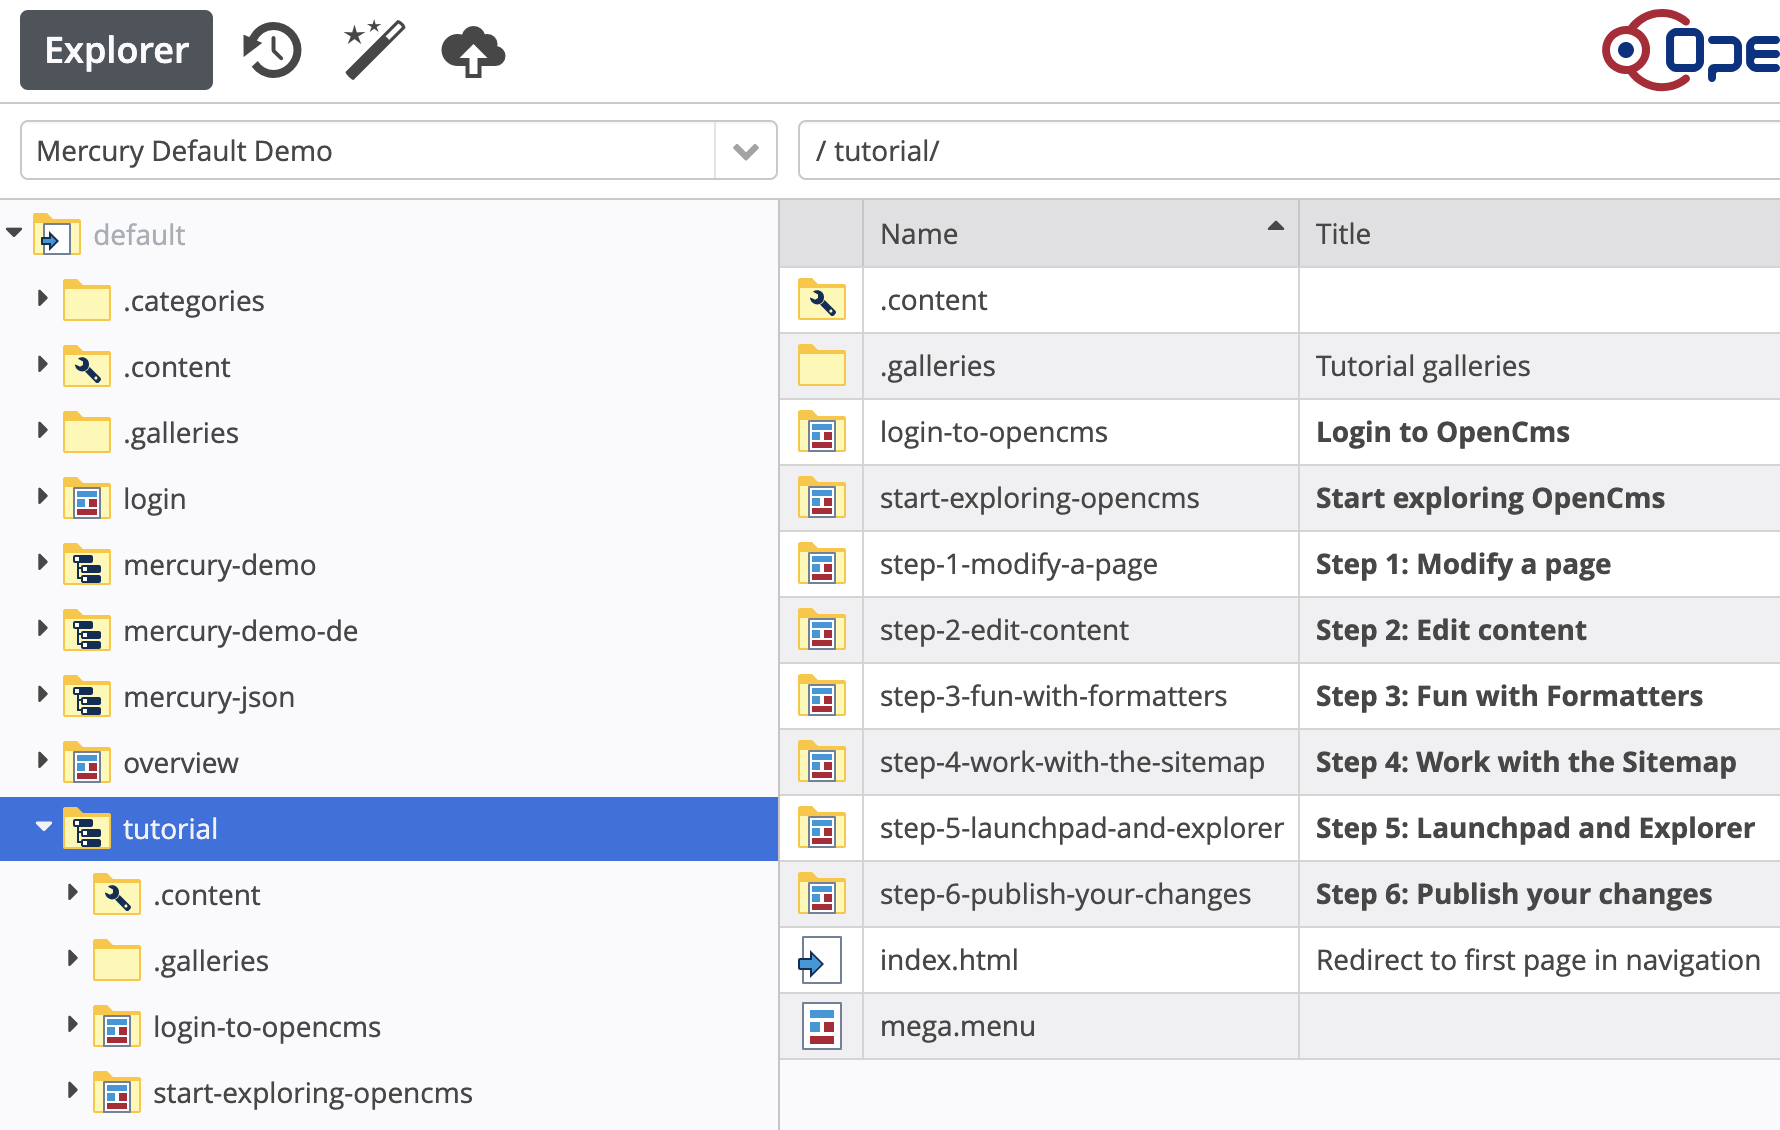
After logging in, you will be taken to the OpenCms Explorer. The Explorer presents the Mercury demo website in a structured, file system–like view.
Click the /tutorial/ folder then open index.html file. The interactive tutorial will launch and guide you through the editorial workflow in OpenCms and the Mercury Template.
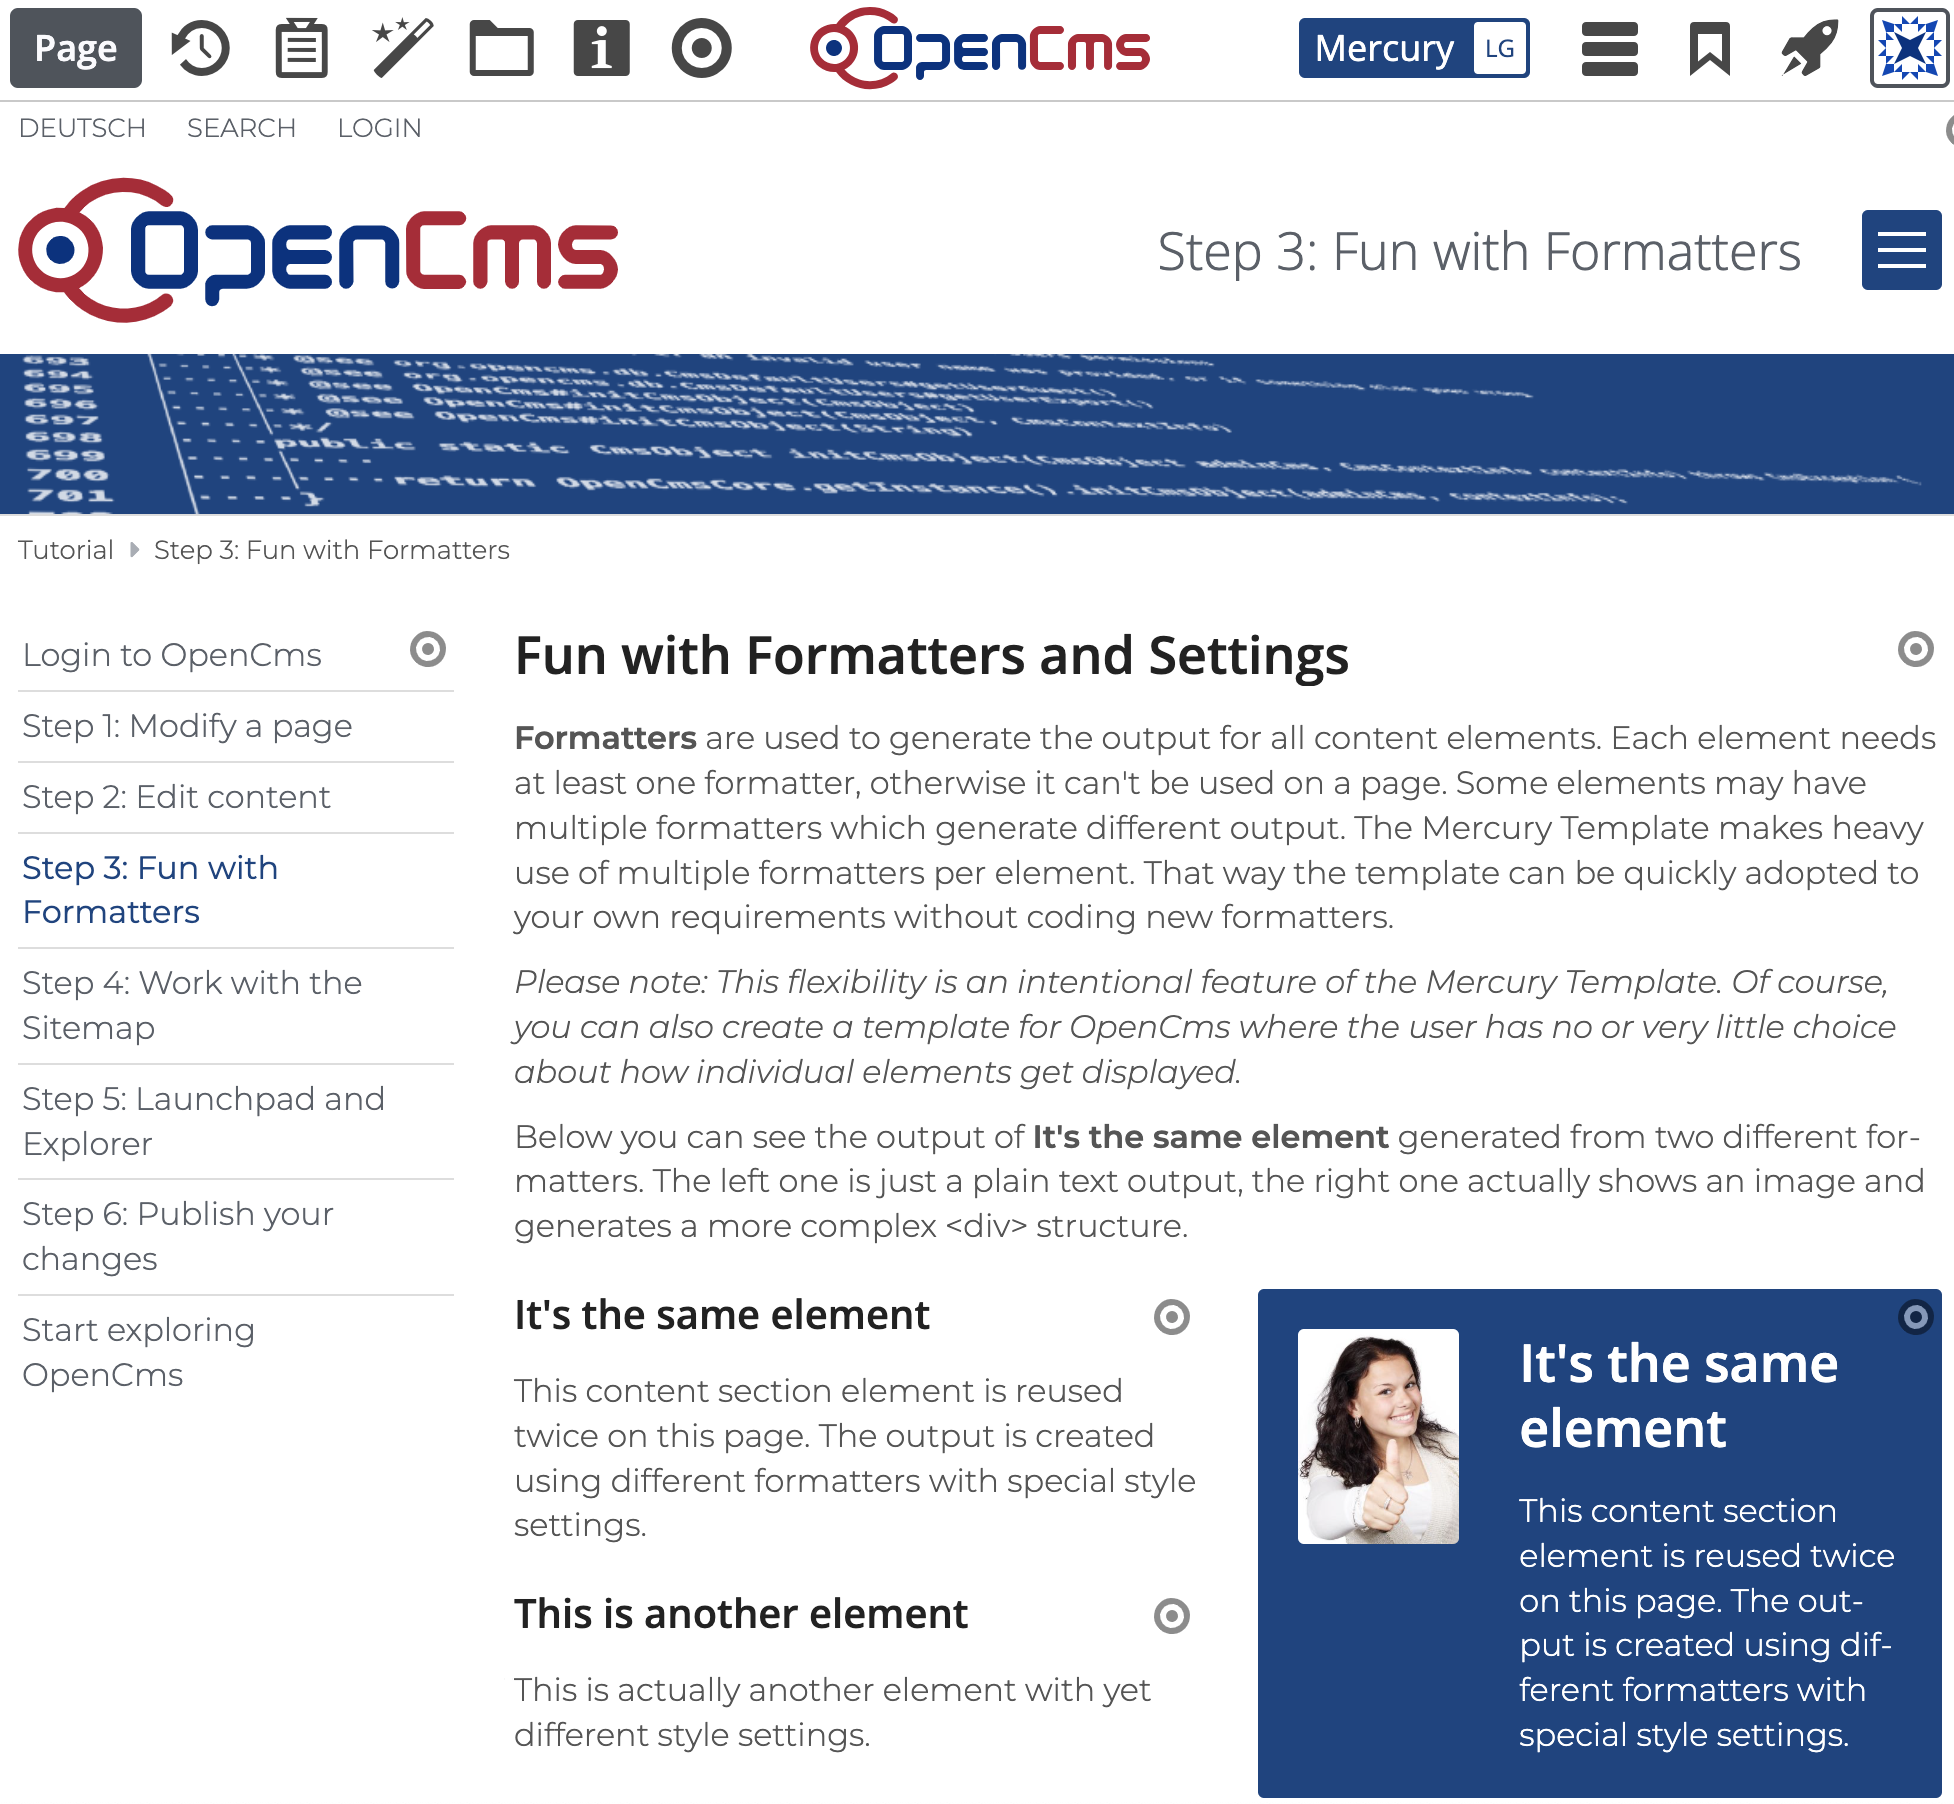
Work your way through the tutorial and pay particular attention to the chapter “Fun with formatters.” Discover how you can use formatters and element settings to display content stored in OpenCms in countless variations.
You’ll see how OpenCms gives editors and creators powerful tools to shape structured content into dynamic, visually engaging pages.
The Mercury demo website is a great place to start discovering the possibilities of OpenCms and Mercury.
Read here how you can create your own Mercury website.